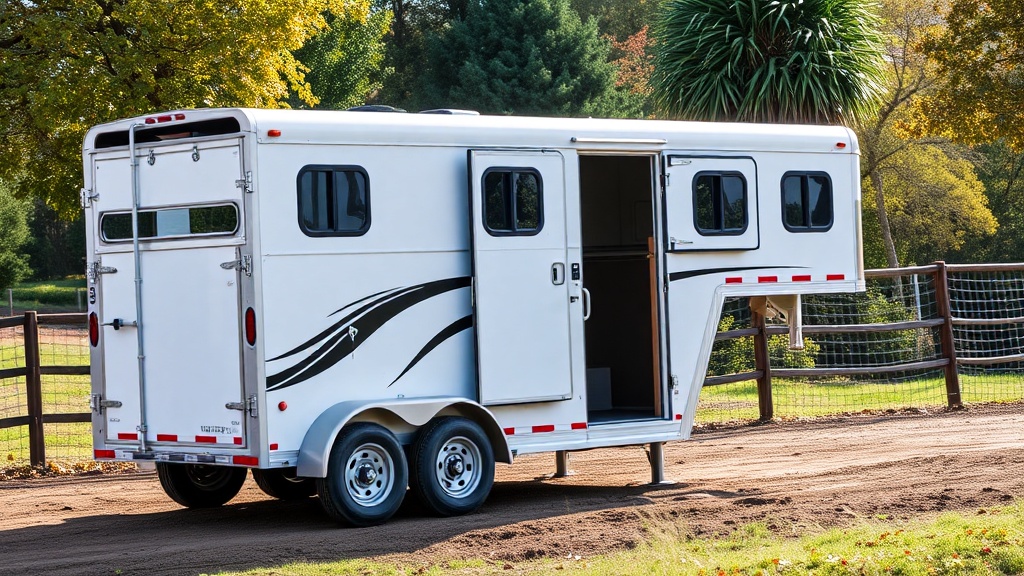
Why Proper Brake Controller Setup Matters for HorseTrailerPro Towing
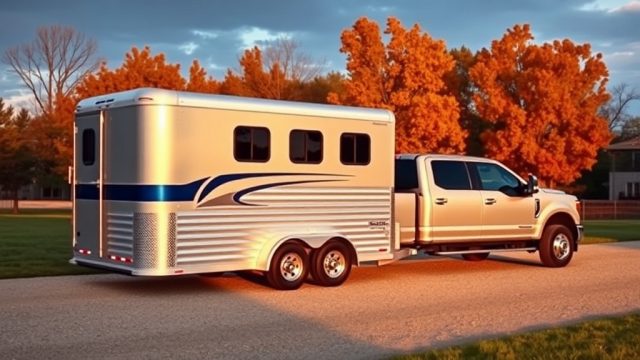
HorseTrailerPro trailers are known for their stable ride and durable construction, but even the best trailer can feel unpredictable without a correctly calibrated brake controller. Getting the brake controller setup right is essential for safe towing, especially when hauling horses who rely on smooth, controlled stops. This guide walks through the critical steps to optimize your braking system for a HorseTrailerPro, covering everything from gain adjustment to sync settings.
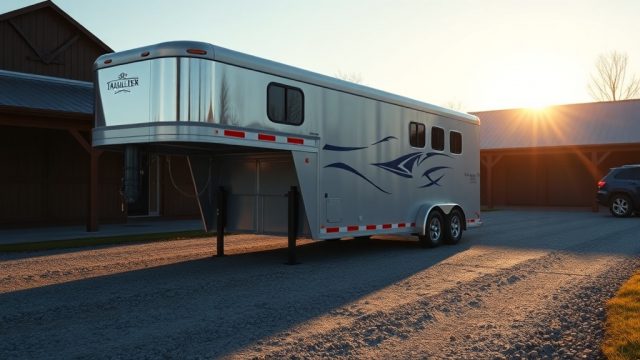
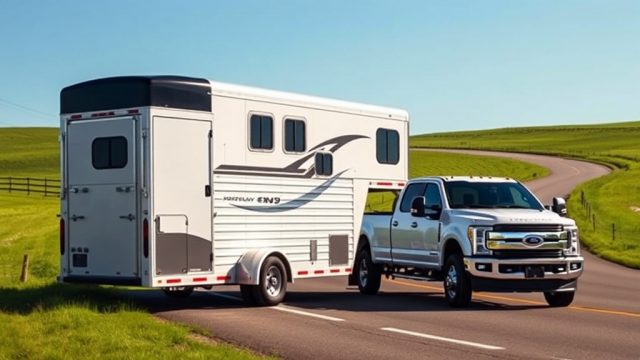
Whether you own a gooseneck or bumper-pull model, matching the controller to the trailer’s electric brakes ensures consistent performance across varying loads and road conditions. A poorly set controller can lead to sway, excessive heat in the brakes, or trailer push during stops—all of which compromise safety.
What Is the Ideal Brake Controller Gain for a HorseTrailerPro?
The gain setting determines how much braking force the trailer’s electric brakes apply relative to your tow vehicle’s braking. For a HorseTrailerPro, start with a low gain—around 3.0 to 4.0 on a 10-point scale—and adjust based on load and road feel. A 3-horse gooseneck with horses and tack might require a gain of 5.5 to 6.5, while an empty 2-horse bumper-pull can be as low as 2.5.
Perform a simple test: find a straight, dry road at low speed (25 mph), press the manual override button, and feel for a firm but not abrupt stop. The trailer brakes should engage slightly before the tow vehicle’s brakes. If you feel the trailer dragging or the brakes locking up, reduce the gain. If the trailer pushes you from behind, increase the gain in increments of 0.5.
Note that HorseTrailerPro models with heavier-duty axles—such as the 7,000-lb GVWR variants—may need a slightly higher gain due to increased brake torque requirements. For detailed axle and brake specifications, see the HorseTrailerPro Horse Compartment: Padding and Divider Review, which covers the chassis components.

How to Set the Brake Controller Sync for Smooth Stops
The sync setting (sometimes called “delay” or “bias”) controls how quickly the trailer brakes respond after you press the tow vehicle’s brake pedal. For a HorseTrailerPro, a sync setting of 3 to 4 out of 10 works well for most loads. This prevents trailer brake lock-up while still providing timely response.
To test sync, drive at 30 mph on a level road and apply the brakes gently. The trailer should start braking within 0.2 seconds of your tow vehicle. If you feel a jerky stop, the sync is too fast; if there’s a lag before the trailer slows, increase the sync. A properly synced system creates a single, smooth slowing motion without any “push-pull” sensation.
Heavier loads—like a 3-horse HorseTrailerPro with living quarters—may require a slightly slower sync (4 to 5) to prevent the trailer brakes from overwhelming the hitch dynamics. For an in-depth look at how different loads affect handling, read the HorseTrailerPro vs Exiss 3-Horse GN: Towing and Handling Comparison.
What Brake Controller Types Work Best With HorseTrailerPro?
HorseTrailerPro trailers use standard 7-pin RV blade connectors and electric brakes, compatible with most modern brake controllers. Proportional controllers (e.g., Tekonsha P3, Curt Spectrum) are recommended because they adjust braking force based on deceleration, providing smoother stops than time-delay controllers.
Time-delay controllers can work but require more manual tuning as load changes. For a 3-horse gooseneck, a proportional controller with a display showing voltage output (0-12V) is ideal. HorseTrailerPro brakes typically need 3.5 to 5.0 volts for moderate stops and up to 9 volts for emergency braking. Avoid cheap $30 controllers—they lack the fine adjustment needed for a heavy horse trailer.
Here is a comparison of common controller types for HorseTrailerPro:
| Controller Type | Best For | Voltage Range | Pros | Cons |
|---|---|---|---|---|
| Proportional (e.g., Tekonsha P3) | All HorseTrailerPro models | 0-12V continuous | Smooth, self-adjusting | Higher cost ($120-$250 USD) |
| Time-Delay (e.g., Reese Towpower) | Bumper-pull only | 0-12V step | Simple, cheaper ($40-$80 USD) | Needs manual gain changes per load |
| Integrated (factory truck system) | Ford/GM/Ram OEM | 0-12V adaptive | Seamless integration | May lack fine tuning for heavy trailers |
For more on safety features, see the HorseTrailerPro vs Featherlite 8549: Safety and Security Features Compared.
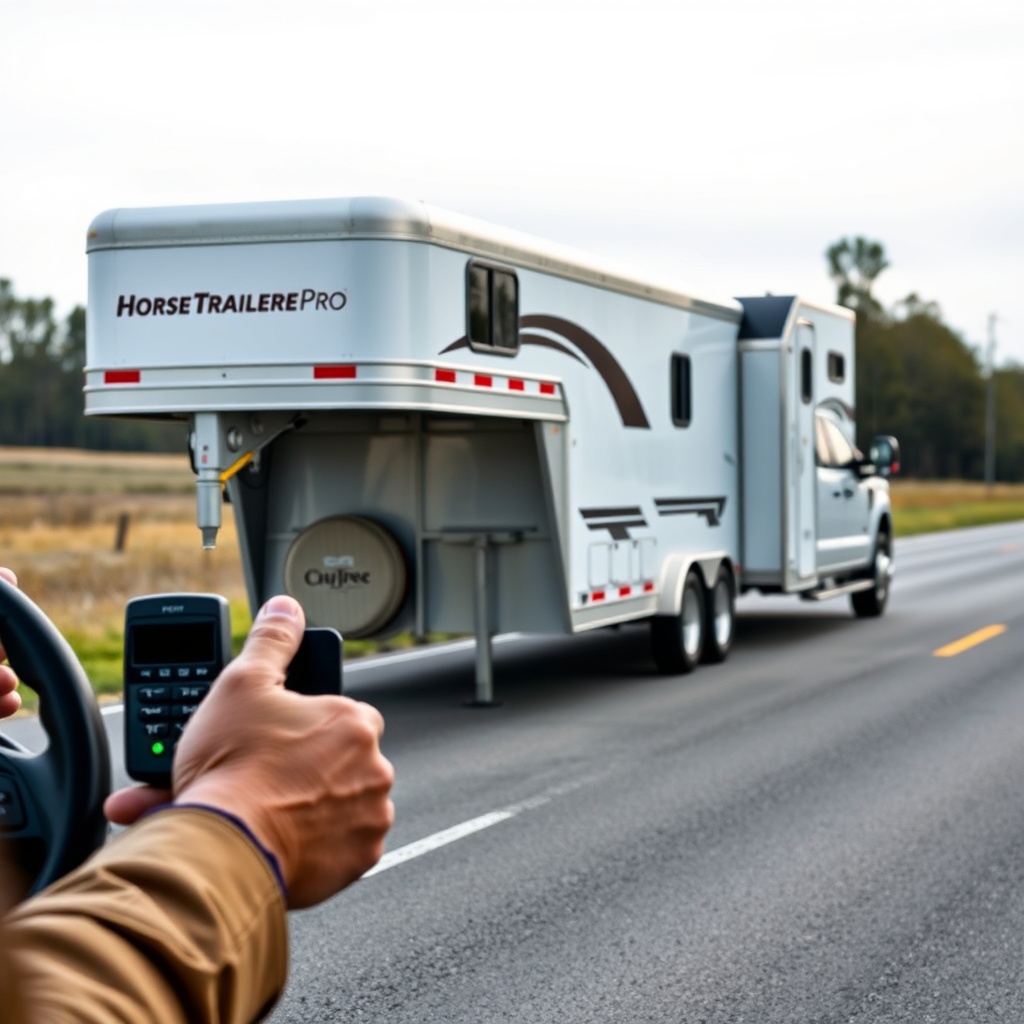
How Does Brake Controller Setup Affect HorseTrailerPro Towing in Different Conditions?
Weather and road conditions demand brake controller adjustments. In rain or wet surfaces, reduce gain by 1.5 to 2 points and increase sync to 5 (slower) to prevent premature lock-up on slick pavement. On gravel or dirt roads, lower gain by another 0.5 to 1 point to avoid skidding, which can startle horses.
In mountainous terrain or steep descents, you may need to manually change settings. For downhill driving, set gain to 5.5 to 6.5 and sync to 4—this provides strong, consistent braking without overheating. Use your controller’s “manual override” to apply trailer brakes only (not tow vehicle brakes) to control speed without fading your truck’s brakes.
Cold weather (below 40°F) can stiffen brake pad material slightly, requiring a 0.5 to 1.0 gain increase until the brakes warm up after a few stops. Always test brakes after loading and before any trip longer than 20 miles. The HorseTrailerPro Living Quarters: Electrical System and Generator Compatibility covers auxiliary power concerns for those living quarters models.
What Owners Say About HorseTrailerPro Brake Controller Setup
Experienced owners consistently highlight two things: the trailer’s predictable braking once tuned, and the ease of adjusting older HorseTrailerPro models that use 12-inch electric brakes. One owner on a horse forum noted, “With my 2021 HorseTrailerPro 3-horse GN, I set gain to 5.0 and sync to 4.0 for a 2,500-lb load, and it stops straight as an arrow.” Another driver who tows a 2019 2-horse bumper-pull across the Midwest said, “The manual override button is my best friend on long downhill runs—I use it to control descent without riding my truck brakes.”
Common feedback emphasizes that owners prefer proportional controllers, with the Tekonsha P3 being the most recommended for HorseTrailerPro. Some users note that older models (pre-2015) have less robust brake magnets that may require more frequent gain adjustments as they wear. Replacing magnets every 2-3 years is a common maintenance step mentioned in forums. For more on towing stability comparisons, check the HorseTrailerPro vs Exiss 3-Horse GN: Construction and Durability Compared.
Frequently Asked Questions About HorseTrailerPro Brake Controller Setup
1. What type of brake controller is best for a new HorseTrailerPro?
A proportional brake controller like the Tekonsha P3 or Curt Spectrum is ideal. They automatically adjust to load weight and braking force, providing the smoothest stops for horse trailers.
2. Do I need to change brake controller settings for empty vs. loaded HorseTrailerPro?
Yes. When empty, set gain 2.0-3.0 lower than when loaded. A 3-horse gooseneck full of horses and gear may need gain as high as 6.5, while empty might be 4.0. Always test after loading.
3. Why do my HorseTrailerPro brakes lock up on wet roads?
This typically happens when gain is set too high for low-traction conditions. Reduce gain by 1.5-2.0 points in rain and increase sync to 5 or 6 to prevent abrupt engagement.
4. How often should I check brake controller calibration?
Every three months or before any long trip. Also check after changing loads, replacing brake pads, or adjusting trailer height. Annual service of brake magnets and wiring is recommended.
5. What voltage should I see on my controller for normal stops?
For moderate stops, 3.5-5.0 volts is normal for a loaded HorseTrailerPro. Emergency stops may reach 8-9 volts. If you see less than 2 volts during normal braking, check wiring connections and brake magnet condition.
6. Can I use a time-delay controller on my HorseTrailerPro?
Yes, but it’s not recommended for heavy or varied loads. Time-delay controllers require manual gain adjustments for different loads, which increases the risk of incorrect settings while towing horses.